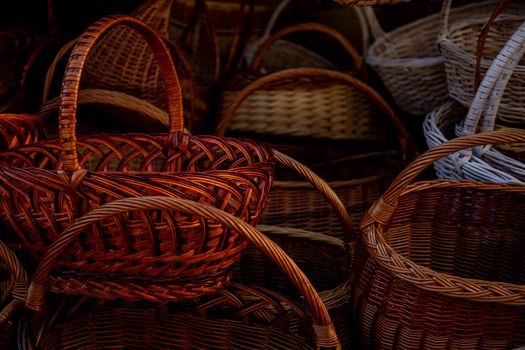
Basketry Basics: How to Start Weaving Baskets for Complete Beginners
Basket weaving, or basketry, is an ancient craft that transforms humble natural materials into beautiful, functional objects. While the tradition spans thousands of years and cultures, you don’t need decades of experience to get started. With the right tools, simple techniques, and a bit of patience, even complete beginners can create their first basket from scratch. This guide offers a hands-on approach to basketry basics, focusing on the essential knowledge, step-by-step methods, and inspiration you need to begin weaving baskets with confidence.
Understanding Basketry: A Timeless Craft for All Ages
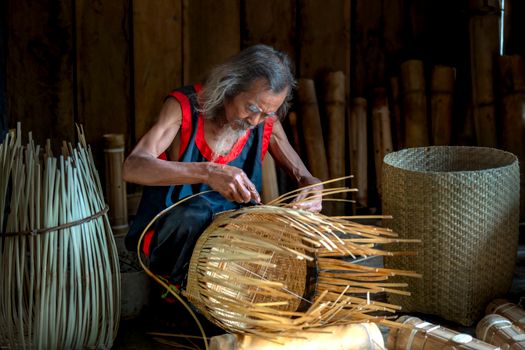
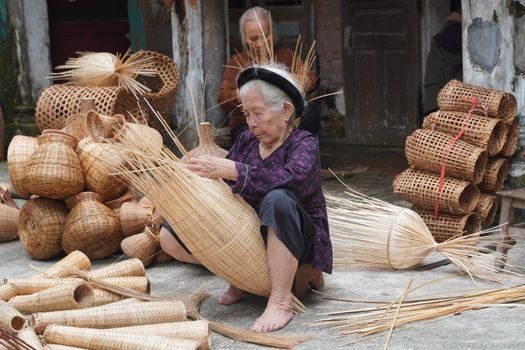
Basketry is one of humanity’s oldest crafts, with archaeological evidence of woven baskets dating back over 10,000 years. From Native American coiled baskets to African reed work and Asian bamboo weaving, the diversity of styles and materials is immense. Today, basket weaving appeals to people seeking a tactile, meditative hobby and a way to create useful items by hand.
What makes basketry so beginner-friendly is its accessibility. Unlike some other crafts, you don’t need expensive equipment or years of training to start. In fact, many people find their first basket is easier to make than expected, especially when following clear, progressive steps. Plus, basket weaving offers benefits beyond the finished product: improved hand-eye coordination, stress relief, and a sense of accomplishment.
Essential Tools and Materials for First-Time Basket Weavers
Before you begin weaving, gathering the right materials and tools is key. Fortunately, most beginner baskets require only a few basic supplies. Here’s a quick overview of the most common options:
| Material/Tool | Purpose | Beginner-Friendly? | Example Cost (USD) |
|---|---|---|---|
| Reed (rattan core) | Main weaving material; flexible and easy to use | Yes | $8-$20 per coil |
| Willow rods | Traditional, natural look; requires soaking | Moderate | $10-$25 per bundle |
| Seagrass | Decorative, adds texture; often used as accent | Yes | $5-$10 per coil |
| Basketry awl | Helps open spaces for weaving | Optional | $6-$12 |
| Clippers/Scissors | Cutting materials to length | Yes | $5-$15 |
| Water container/spray bottle | Soaking or dampening materials for flexibility | Yes | Usually on hand |
For beginners, reed (specifically round or flat oval reed) is highly recommended. It’s widely available, affordable, and forgiving for first-timers. Most starter kits include enough reed, instructions, and basic tools for one or two small baskets.
Choosing a Basket Style: What Should Beginners Weave First?
With dozens of traditional and modern basket styles out there, it can feel overwhelming to pick a starting point. For your first project, choose a simple, functional basket that emphasizes basic weaving techniques. Here are three ideal beginner options:
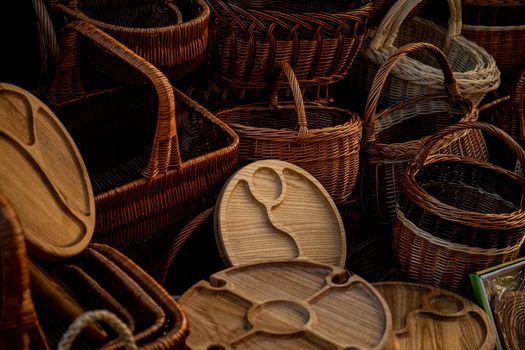
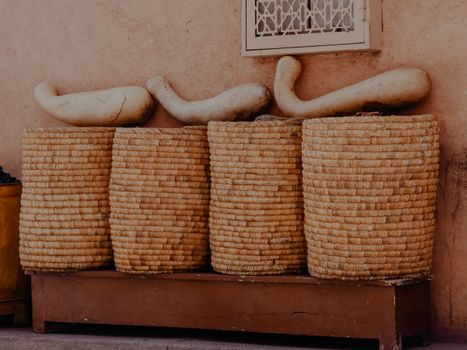
1. Round reed basket: The “classic” starter basket, using spokes and a spiral weave. Holds fruit, yarn, or small household items. 2. Coiled basket: Uses a core material (like rope or raffia) wrapped with another material. Great for learning coiling and stitching. 3. Flat reed tray: Simple rectangular or oval tray; teaches how to start and finish corners and edges.Most new weavers complete their first basket in 2-4 hours, and the process is designed to encourage quick wins. Kits for these baskets often come with pre-cut materials, illustrated instructions, and all the supplies you need.
Step-by-Step Guide: Weaving Your First Simple Basket
Let’s walk through the process for a round reed basket, a perfect project for absolute beginners. This walkthrough highlights the essential steps, with tips to avoid common pitfalls.
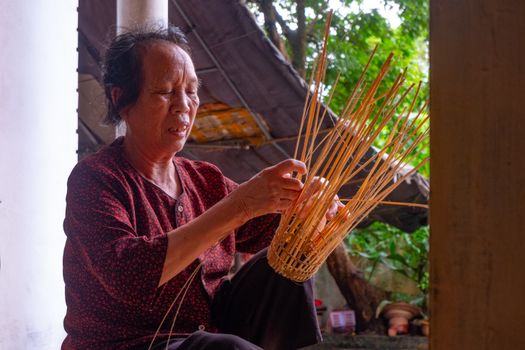
Step 1: Prepare Your Materials - Soak reed in warm water for 15-30 minutes. This makes it flexible and less likely to crack. - Cut spokes (the vertical supports) and weaving reeds to the lengths specified in your pattern. Step 2: Lay the Base - Arrange the spokes in a radial pattern, crossing them at the center like wheel spokes. - Use a short piece of reed to “twine” around the center, holding spokes in place. Step 3: Begin Weaving - Take a long piece of reed and start weaving over and under the spokes in a spiral motion. - After a few rounds, gently bend the spokes upward to form the basket’s sides. Step 4: Build Up the Sides - Continue weaving, keeping rows tight and even. Adjust the shape by pulling (for a wider basket) or pushing (for a taller one) as you go. - Add new pieces of reed by overlapping ends about an inch. Step 5: Finish the Rim - When the basket reaches the desired height, trim the spokes to 1 inch above the last row. - Bend each spoke over the rim and tuck it into the weaving to secure. Step 6: Dry and Admire - Allow your basket to dry fully, which may take 24-48 hours. - Optionally, add a handle or decorative accents.With practice, you’ll develop a rhythm and quickly move on to more complex shapes and patterns.
Common Challenges and How Beginners Can Overcome Them
Every new weaver encounters a few bumps in the road, but these are easily overcome with patience and a few tricks:
1. Uneven sides: If your basket bulges or slants, check that you’re weaving with even tension. Don’t pull too tightly, and adjust the spokes as needed. 2. Cracking reed: If reed feels brittle, soak it longer or mist with water as you work. 3. Gaps in weaving: Push rows down as you go to keep the weaving compact. Gaps can often be fixed by nudging the reed into place with your fingers or an awl. 4. Sore hands: Take breaks and stretch your hands. Basket weaving uses different muscles than typing or writing. 5. Finishing trouble: For a neat rim, make sure all spokes are tucked under at least 2-3 rows of weaving.Remember, the first basket is a learning experience. Small flaws add character and are a reminder of your progress.
Creative Inspiration: Customizing Your First Baskets
Once you’ve mastered the basics, basketry becomes a canvas for creativity. Here are a few ways beginners can personalize their baskets:
- Color: Dye reed with craft dyes or natural teas for subtle hues, or purchase pre-dyed materials. - Shape: Experiment with oval, square, or lidded forms. - Texture: Add seagrass, yarn, or fabric strips for contrast. - Handles: Attach reed, leather, or rope handles for utility or decoration. - Embellishments: Weave in beads, shells, or buttons for a unique look.Basket weaving is also a wonderful way to connect with nature. Many weavers gather their own materials—such as willow, cattails, or pine needles—from gardens or parks. Always research local regulations and sustainable harvesting practices before collecting wild materials.
Building Basketry Skills: Resources and Next Steps for Beginners
Your first basket is just the beginning! To keep learning and growing in the craft:
- Join a local basketry guild, workshop, or online community. Over 200 basketry guilds are active in North America alone. - Explore YouTube channels, craft blogs, and books dedicated to basket weaving. The Basket Makers Association and Weave-A-Real-Peace (WARP) offer excellent online resources. - Attend a basketry festival or market to see a range of styles and meet experienced weavers. - Try new techniques, such as twining, plaiting, or rib-style baskets, as your skills improve.According to Craft Industry Alliance, the number of people taking up basketry as a hobby has grown by nearly 35% since 2020, highlighting the renewed interest in handmade, sustainable crafts. Whether you’re weaving for relaxation, gifts, or practical use, basketry offers endless opportunities for learning and creativity.
Getting Started with Basket Weaving: Your Path to a Rewarding Hobby
Basket weaving is more than just an ancient art—it’s a rewarding, accessible hobby that anyone can enjoy. With just a few basic materials, clear instructions, and a bit of practice, complete beginners can create beautiful, functional baskets in their own homes. As you progress, you’ll discover a world of techniques, traditions, and creative possibilities. Don’t let the first attempt intimidate you; each basket you finish is a step forward in skill and self-expression. Gather your materials, find a comfortable workspace, and let your basketry journey begin!